
How I grew from hobbyist to professional photographer?
Like many creatives, I began with a phone, a lot of curiosity, and zero idea that photography could be more than just a fun thing to do on weekends.
Fast forward a few years, and I now work with clients, shoot professional gigs, and still get butterflies every time I frame that perfect shot.
If you’re starting out—or stuck in between—this is my journey from hobbyist to professional photographer, and how you can walk your own path too.
It All Started with Curiosity (Not a Camera)
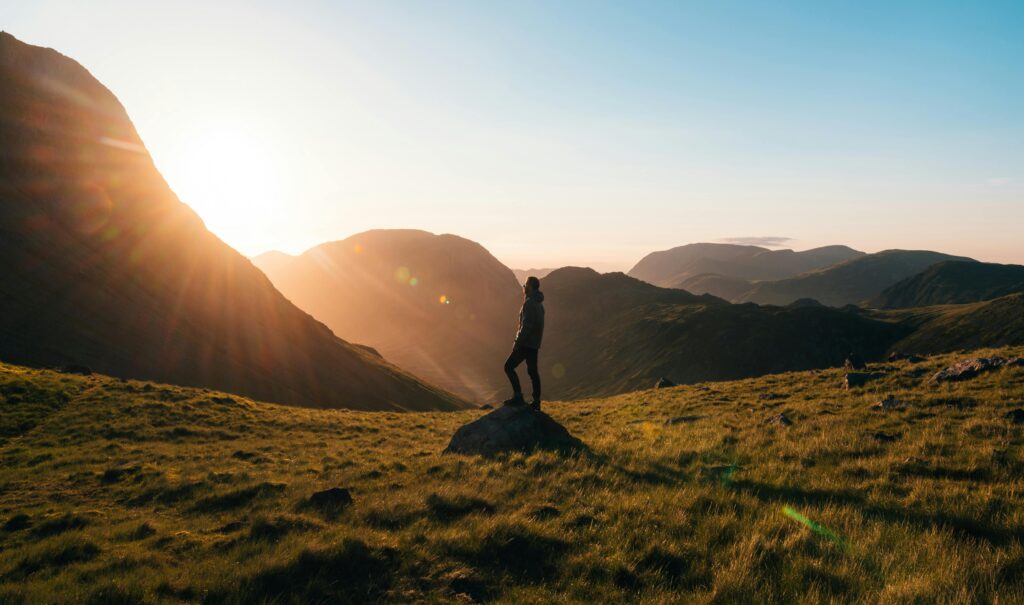
Before I ever held a DSLR, I was obsessed with capturing moments—sunsets, street life, friends laughing at hangouts.It wasn’t about composition or lighting. It was just… feeling.
The game changed when I began to pay attention. Why did one photo look powerful while another fell flat? That’s when the hobby turned into an obsession. I started watching tutorials, following photographers, and trying to recreate shots on my phone.
Lesson: You don’t need expensive gear to begin—you need intentional practice.
Here’s a list of activities I engaged in:
1. I Practiced. A Lot. For Free.
Once I got a basic camera (shoutout to my used Canon 600D), I started offering free shoots. Friends. Family. Anyone who needed a picture, I was there.
I learned about lighting by failing during golden hour. I learned about posing by working with people who had never been in front of a lens. I learned editing by messing up and restarting… a hundred times.
Lesson: You level up by doing—not just watching. Don’t be afraid to start messy.
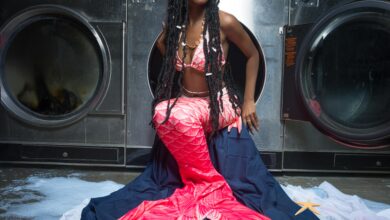
2. I Found My Style by Saying “Yes” to Everything
Portraits. Events. Food. Products. Fashion. I tried it all.
In the beginning, I couldn’t say no because I didn’t know what I liked. But that’s the beautiful part—you find your style by exploring different ones.
Over time, I gravitated toward lifestyle and portrait photography. I loved capturing emotion and story in a single frame. That became my niche.
Lesson: Explore freely—but pay attention to what excites you and what drains you.
3. I Built My Brand Without a Big Budget
My first “portfolio” was an Instagram page. I didn’t have a website, business card, or logo—but I had consistency.
I posted behind-the-scenes, shared stories from shoots, and let people see the process. That made me relatable. Trustworthy.
Then came my first paid gig. It wasn’t big, but it was the moment I stopped calling myself “just a hobbyist.”
Lesson: You are a photographer the moment you decide to show up like one—whether paid or not.
4. I Learned the Business Side the Hard Way
Nobody tells you that photography is 30% shooting and 70% everything else.
Pricing. Negotiating. Writing invoices. Managing clients. Delivering files. I messed up a lot—undercharged, missed deadlines, lost sleep.
Eventually, I got systems in place. Templates. Contracts. Backup drives. A folder structure that made life easier.
Lesson: Learn the business of photography early. It’ll save your sanity and protect your creativity.
Final Thoughts: Your Path Will Be Unique—But You’re Not Alone
My journey wasn’t perfect. It was filled with blurry shots, awkward poses, gear envy, and doubts. But it was real. And every mistake brought growth.
If you’re just starting, or wondering if you have what it takes, remember this:
“You don’t become a pro overnight. You become one by showing up—even when no one’s watching.”
Keep shooting. Keep learning. Your story is unfolding.
Want to start your own journey?
Stay with Imgnix for more beginner-friendly guides, gear tips, and creative stories—because every pro was once right where you are.
Here are YouTube testimonials of Experts:
[https://www.youtube.com/live/SB8AzkVqYPw?si=s0B_E4IUND3tiN5y]